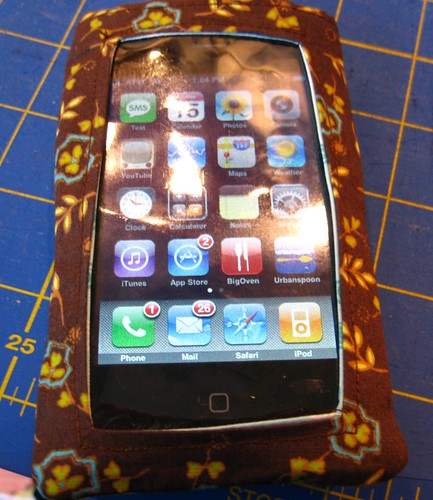
COMPLETED:
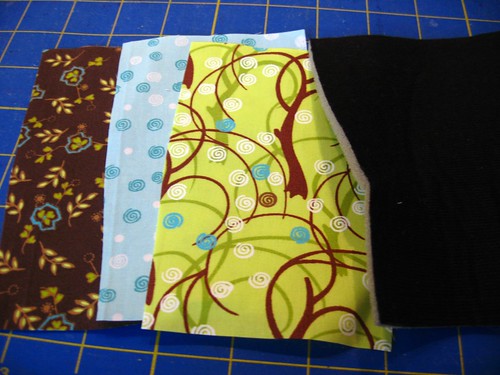
First, you need to get the size you need. I laid my phone on my pattern material and added a generous seam allowance. My rectangle is 4-1/2 x 5-1/2 inches.
You need to cut 4 of those rectangles above: One back outside, one back inside, one front outside and one front inside. I cut 3 from cotton and 1 from a padded foam remnant. The padded foam is the back inside in mine. You will also need a piece of vinyl, described later.
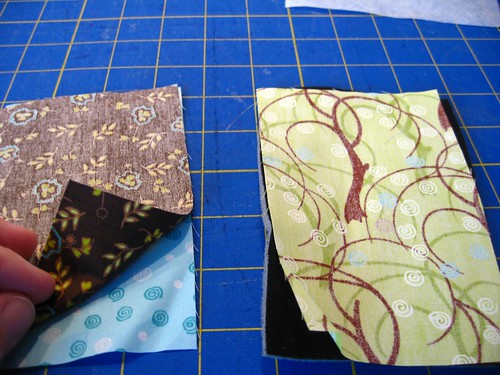
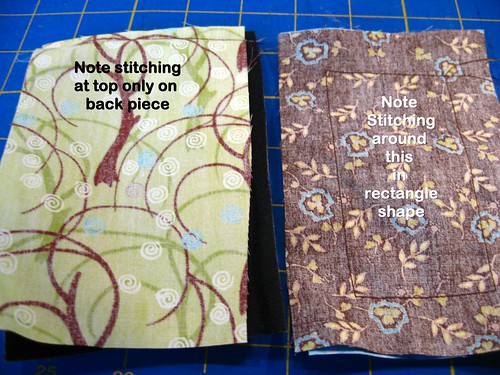
Stack them RIGHT sides together with front outer to front lining and back outer to back inner.
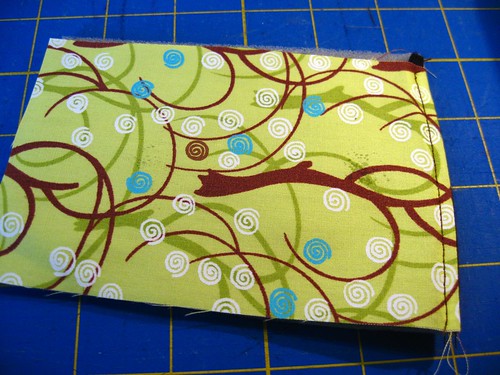
On the back, sew just what will be the TOP of the case, lining to outside back.
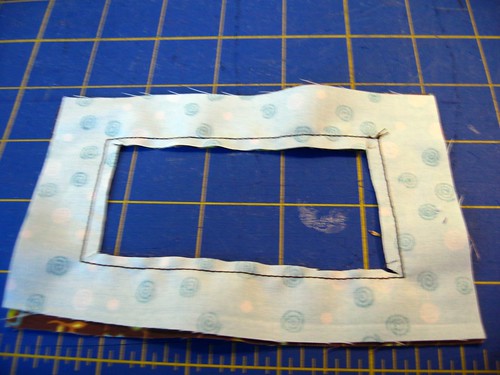
On the front pieces, sew what will be the front opening. I did a rectangle paralleling the fabric, slightly less than 1 inch inside the margins.
Flip the back piece so the right sides are out and topstitch your one seam. This creates a neat back top for the opening for the case.
Cut out the window opening on the front pieces by cutting inside the inner rectangle you sewed. Cut close to the seam, and trim the corners very very close for turning.
Turn the front piece right side out and press it.
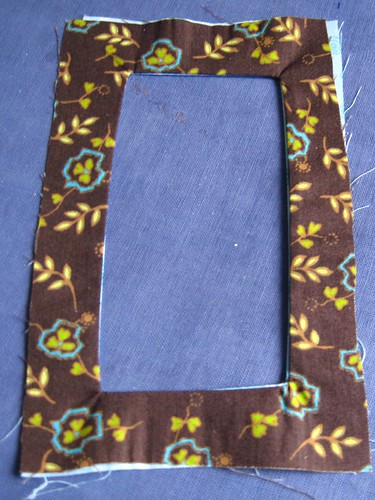
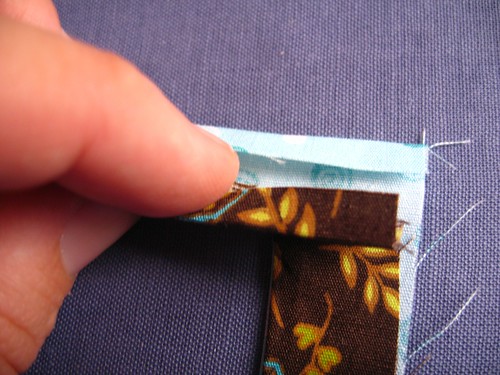
On what will become the top of the front, fold in your edges to prepare for topstitching that opening neatly.
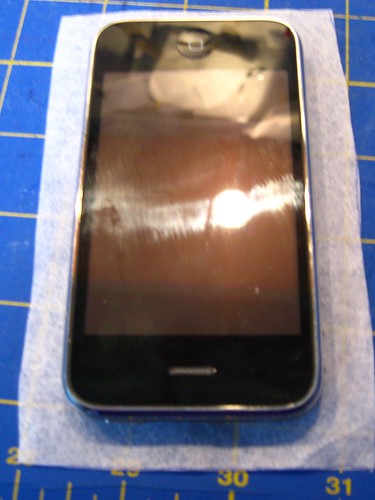
Now cut your vinyl window piece slightly larger than the opening in the front.
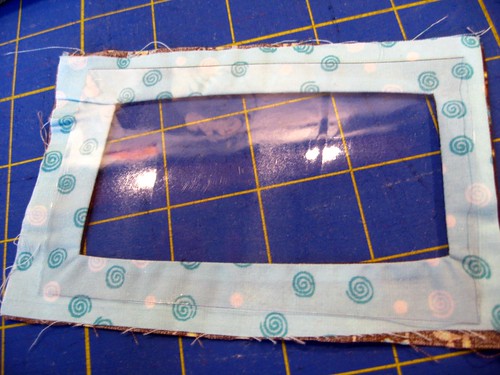
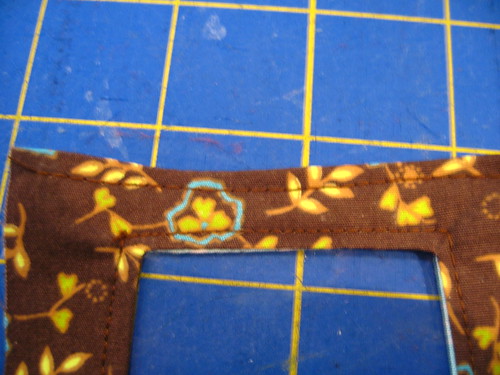
Stitch the vinyl to the back of the front piece, covering the window opening with the vinyl. Also topstitch what will be the top front of the case. This is just to make a neat edge at what will be the opening of the case in the front.
Layer the top of the case on the back, right sides together, and sew them around the 3 unfinished sides (sides and bottom of the case), leaving open what will be the case opening at the top.

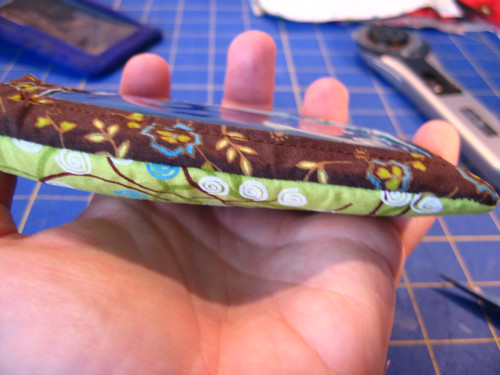
Turn it right side out and you are done. Note turning vinyl is probably not recommended, but do it carefully and try not to crease it sharply and it comes out okay for me.
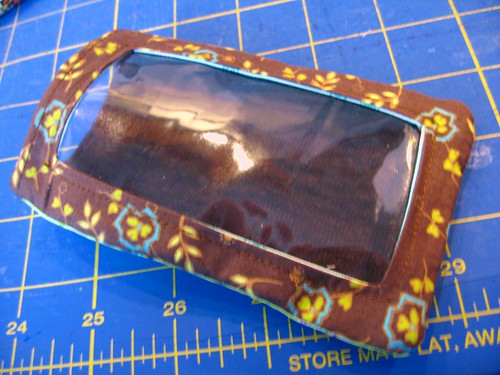
All done:
Suggested modifications I may try in the future are an arm band (elastic attached to the back piece before stitching the body of the case together) for DH as he has requested, plus a snap at the top or closure, etc. You could make a ring to attach it to your bag or whatever too. You could create an opening for the camera eye in the back, opening for the speaker, etc. I just needed simple though as I carry mine in my bag and use a bluetooth headset for talking so this works for me.
1 comment:
OMG, that is the coolest thing. Do you sell them?
Post a Comment