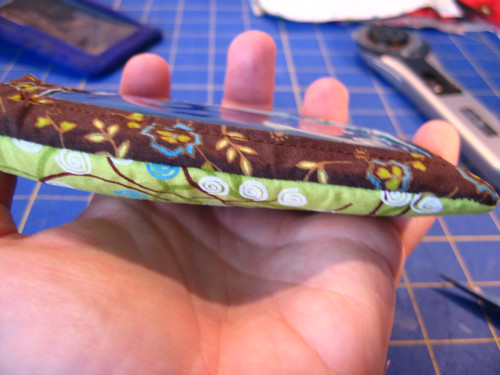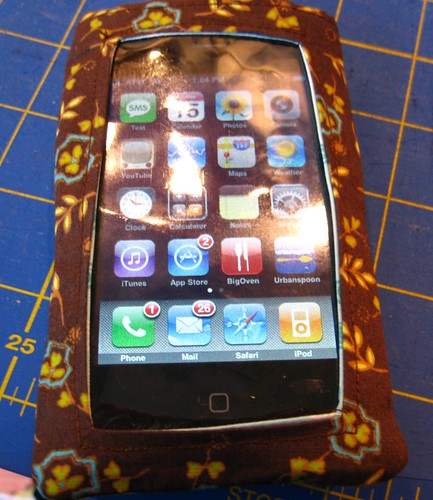
Wednesday, December 17, 2008

Tutorial for a super simple case to fit an iphone

This is for an iphone but the instructions can be used to make a simple sleeve-style case for whatever you need. And I do mean simple. My goal was to have something to project it in my bag basically, while giving me the option of some minimal functionality with it in the sleeve.

COMPLETED:


First, you need to get the size you need. I laid my phone on my pattern material and added a generous seam allowance. My rectangle is 4-1/2 x 5-1/2 inches.
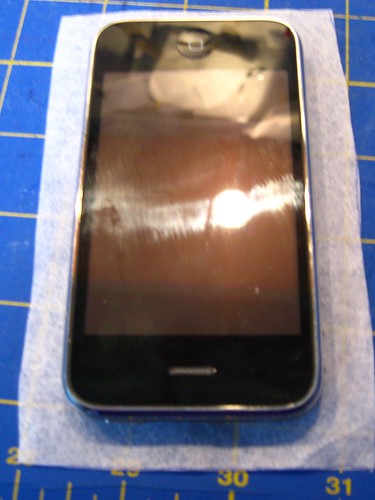
IMG_3301

You need to cut 4 of those rectangles above: One back outside, one back inside, one front outside and one front inside. I cut 3 from cotton and 1 from a padded foam remnant. The padded foam is the back inside in mine. You will also need a piece of vinyl, described later.
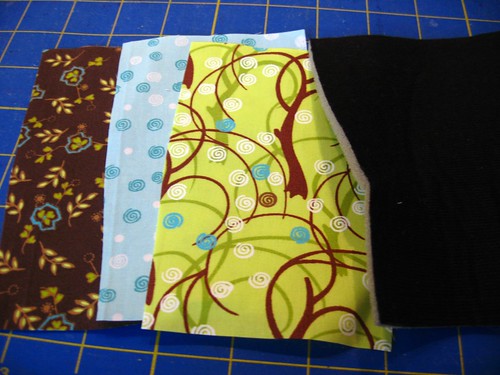
IMG_3303

Stack them RIGHT sides together with front outer to front lining and back outer to back inner.
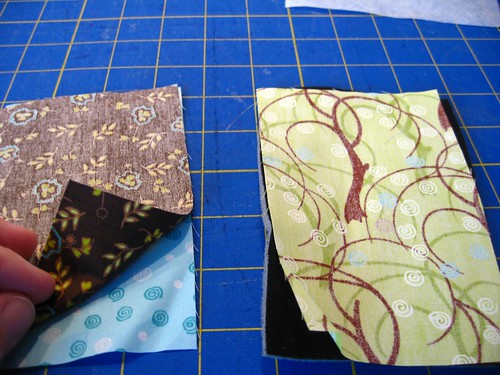
IMG_3304

On the back, sew just what will be the TOP of the case, lining to outside back.

On the front pieces, sew what will be the front opening. I did a rectangle paralleling the fabric, slightly less than 1 inch inside the margins.
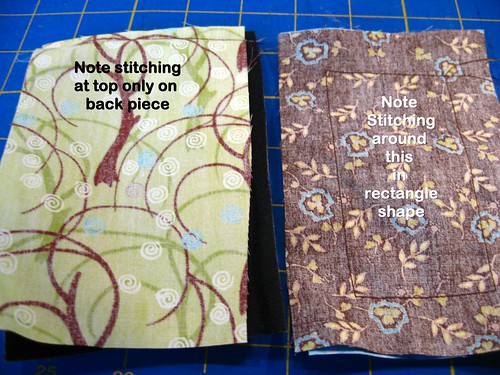
img_3306

Flip the back piece so the right sides are out and topstitch your one seam. This creates a neat back top for the opening for the case.
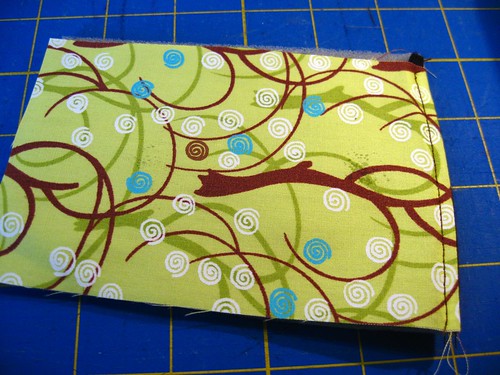
IMG_3307

Cut out the window opening on the front pieces by cutting inside the inner rectangle you sewed. Cut close to the seam, and trim the corners very very close for turning.
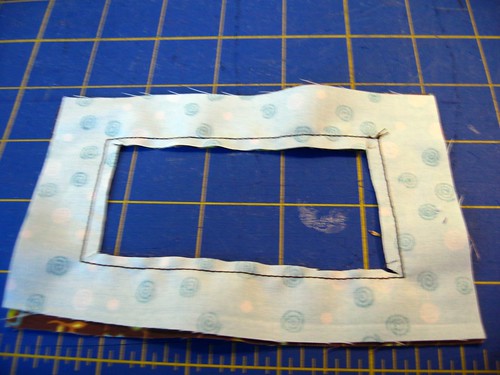
IMG_3308

Turn the front piece right side out and press it.
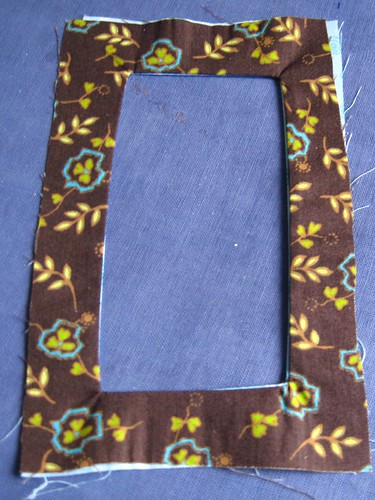
IMG_3309

On what will become the top of the front, fold in your edges to prepare for topstitching that opening neatly.
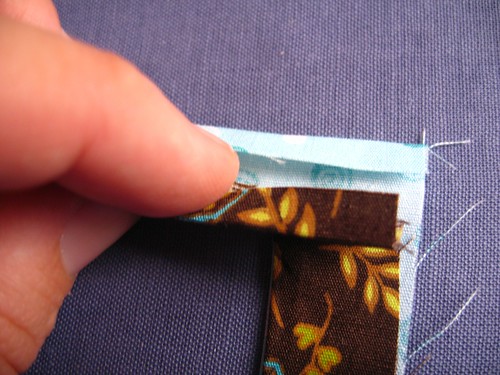
IMG_3310

Now cut your vinyl window piece slightly larger than the opening in the front.
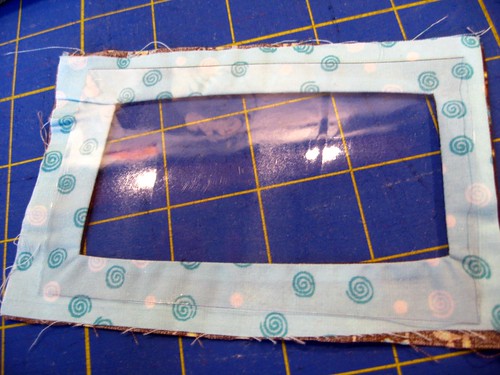
IMG_3311

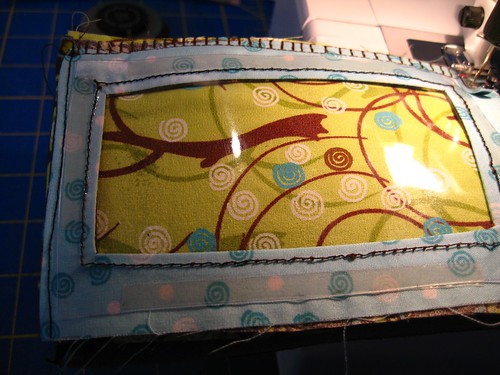
Stitch the vinyl to the back of the front piece, covering the window opening with the vinyl. Also topstitch what will be the top front of the case. This is just to make a neat edge at what will be the opening of the case in the front.
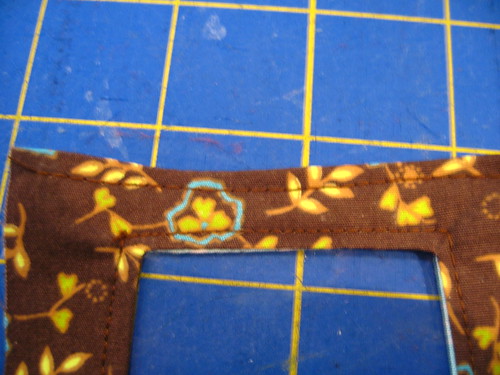
img_3314

Layer the top of the case on the back, right sides together, and sew them around the 3 unfinished sides (sides and bottom of the case), leaving open what will be the case opening at the top.
IMG_3316

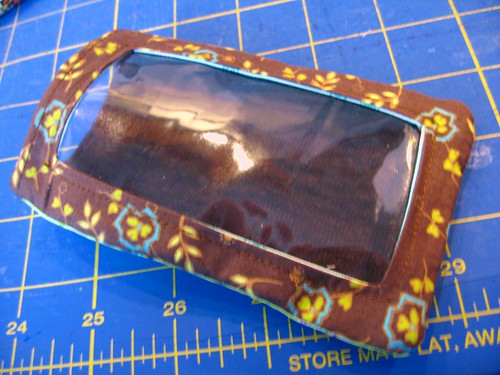
Turn it right side out and you are done. Note turning vinyl is probably not recommended, but do it carefully and try not to crease it sharply and it comes out okay for me.
IMG_3318

All done:

img_3320

Suggested modifications I may try in the future are an arm band (elastic attached to the back piece before stitching the body of the case together) for DH as he has requested, plus a snap at the top or closure, etc. You could make a ring to attach it to your bag or whatever too. You could create an opening for the camera eye in the back, opening for the speaker, etc. I just needed simple though as I carry mine in my bag and use a bluetooth headset for talking so this works for me.

Monday, December 08, 2008


Today, Zach and I had the pleasure of delving into a new book, If the World Were a Village: A Book about the World's People, written by David J. Smith.

Even adults have trouble grasping the enormity of the population of the entire world as a number and attempting to envision how many that really is, then applying abstract and dehumanized percentages of how many people live where and so forth to that original unimaginable number. I had come across the natural concept of reducing that population number to 100 and then using the percentages as people. So, if the number to imagine was 1%, then 1 person in that 100 would do whatever it was.

This book, I feel, does a particularly nice job of presenting this information to children. It is a larger format, with wonderful illustrations (done by Shelagh Armstrong). The 1st page of the book sets the stage, encouraging us to travel into our mind to the "global village" of 100 people. Then, each 2-page spread in the book covers another topic, including "nationalities," "languages" and so forth, leading up to "the village in the past" and the "village in the future," meaning in this case population growth and issues regarding that. They do, by the way, make a quick note that scientists do disagree with some of the population growth numbers they present.

Zach was really engaged in this book, with wide eyes at the some of the facts presented, though honestly it wasn't new information. It really seemed to speak to him in a language he could grasp though, especially the pages on "air and water" (focus on pollution) and "food" (again, focus on how many in our world go hungry each day).

We use a religious homeschool curriculum and these topics do come up often in the sense of social justice. Honestly what is nice about this book is that it is NOT presented from a Christian perspective, thereby giving it a wider appeal, and allowing of course use in the classroom. It is presented in a quite factual and matter of fact tone, while still engaging the reader into some reflection about the meaning.

For the parent or teacher, there is a nice 2-page spread of suggestions for teaching children about the global village, or world, beyond this book.

In browsing online, I did see this interesting information on the author's website, including further links and activities, including several geared directly towards teachers and parents.

Only note I would make to those of you interested, is that the author is very very concerned about population growth and population control, so if these are issues where you tend to disagree with many scientists, you might want to view the author's website and position before you order the book for your children. I found the information to be emphasized in the book, but I also found it to be presented in a factual rather than a preachy manner for what it's worth.

As I said, we quite enjoyed the book as an addition to expand our core 1 studies for Sonlight, which is titled "Intro to World History." We worked on the Usborne Book of Peoples of the World this morning in our curriculum reading, and this was a very nice adjunct to that.

The Doodle Pro helps in spelling.


I don't know why this one didn't occur to us before now honestly. Today we were going over spelling words, day 1, meaning that we were looking them over for the first time. The suggestions in our Sonlight IG include having the child write them at first on a blackboard or dry erase board, etc., as kids love the large movements. Plus, from my own experience, it would likely just add some fun to spelling as kids love white erase boards! In any case, we don't have one in our school area, aka, the family room. But this morning my eyes landed on a discarded Doodle Pro lying on the carpet. Aha! Zach LOVED writing out his words on his Doodle Pro. It is the little things in life that add up to a fun day for him, so I'm sharing this tiny tip to anyone who has a Doodle Pro or similar item and wants to give it a go on the spelling.

Friday, December 05, 2008

We are done with Core K!!

Just today we finally finished up Sonlight Core K, a couple months delayed from our ideal end date. We had some setbacks, a new baby and so forth. What a great time we had doing it though, and I highly recommend Sonlight for homeschooling. We skipped parts of some of the books, most notably in Hero Tales, but overall the books were loved and enjoyed thoroughly for the great literature they are, timeless classics.

Now on to core 1, woohoo! We are also doing the new P3/4 core for Noah, and that is fun in its own right, though we have already discarded the Bible Stories book it came with, as that was far advanced for the age group and not interesting at all to him. We replaced it with an easier Bible Stories book and are thoroughly enjoying the other selections. Noah is quite proud that he too has special school books!